︎
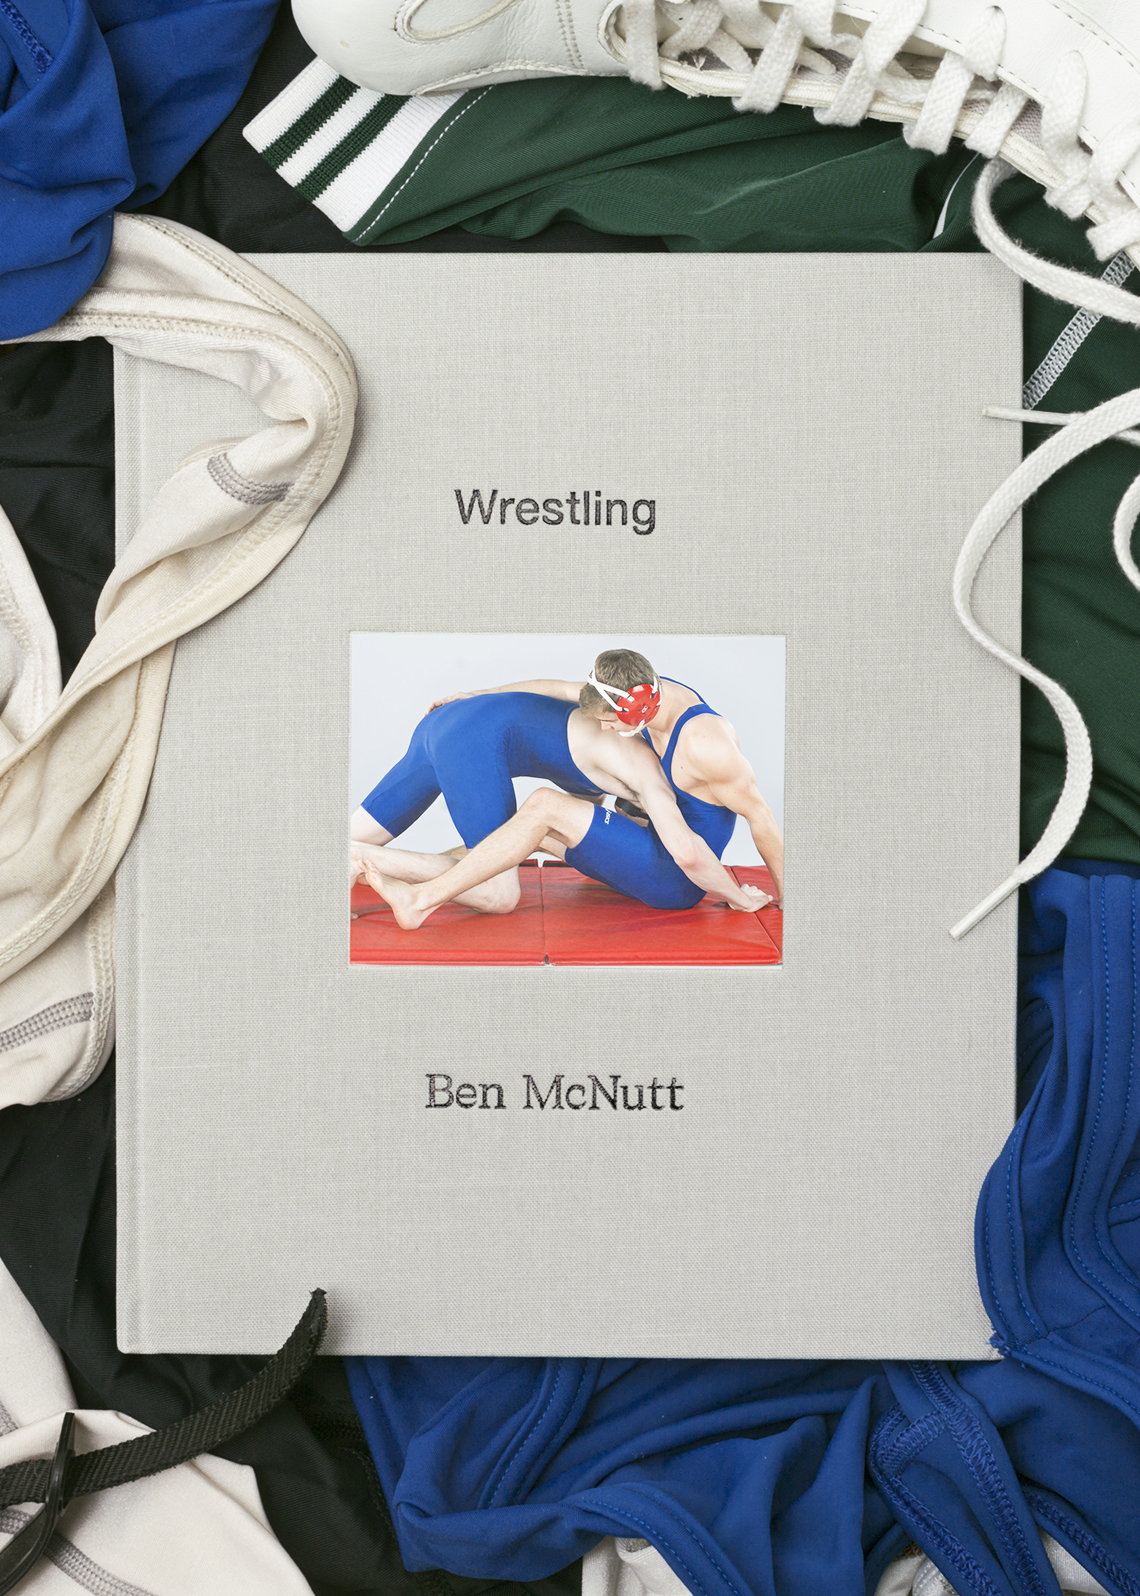
Ben McNutt
Artist Books
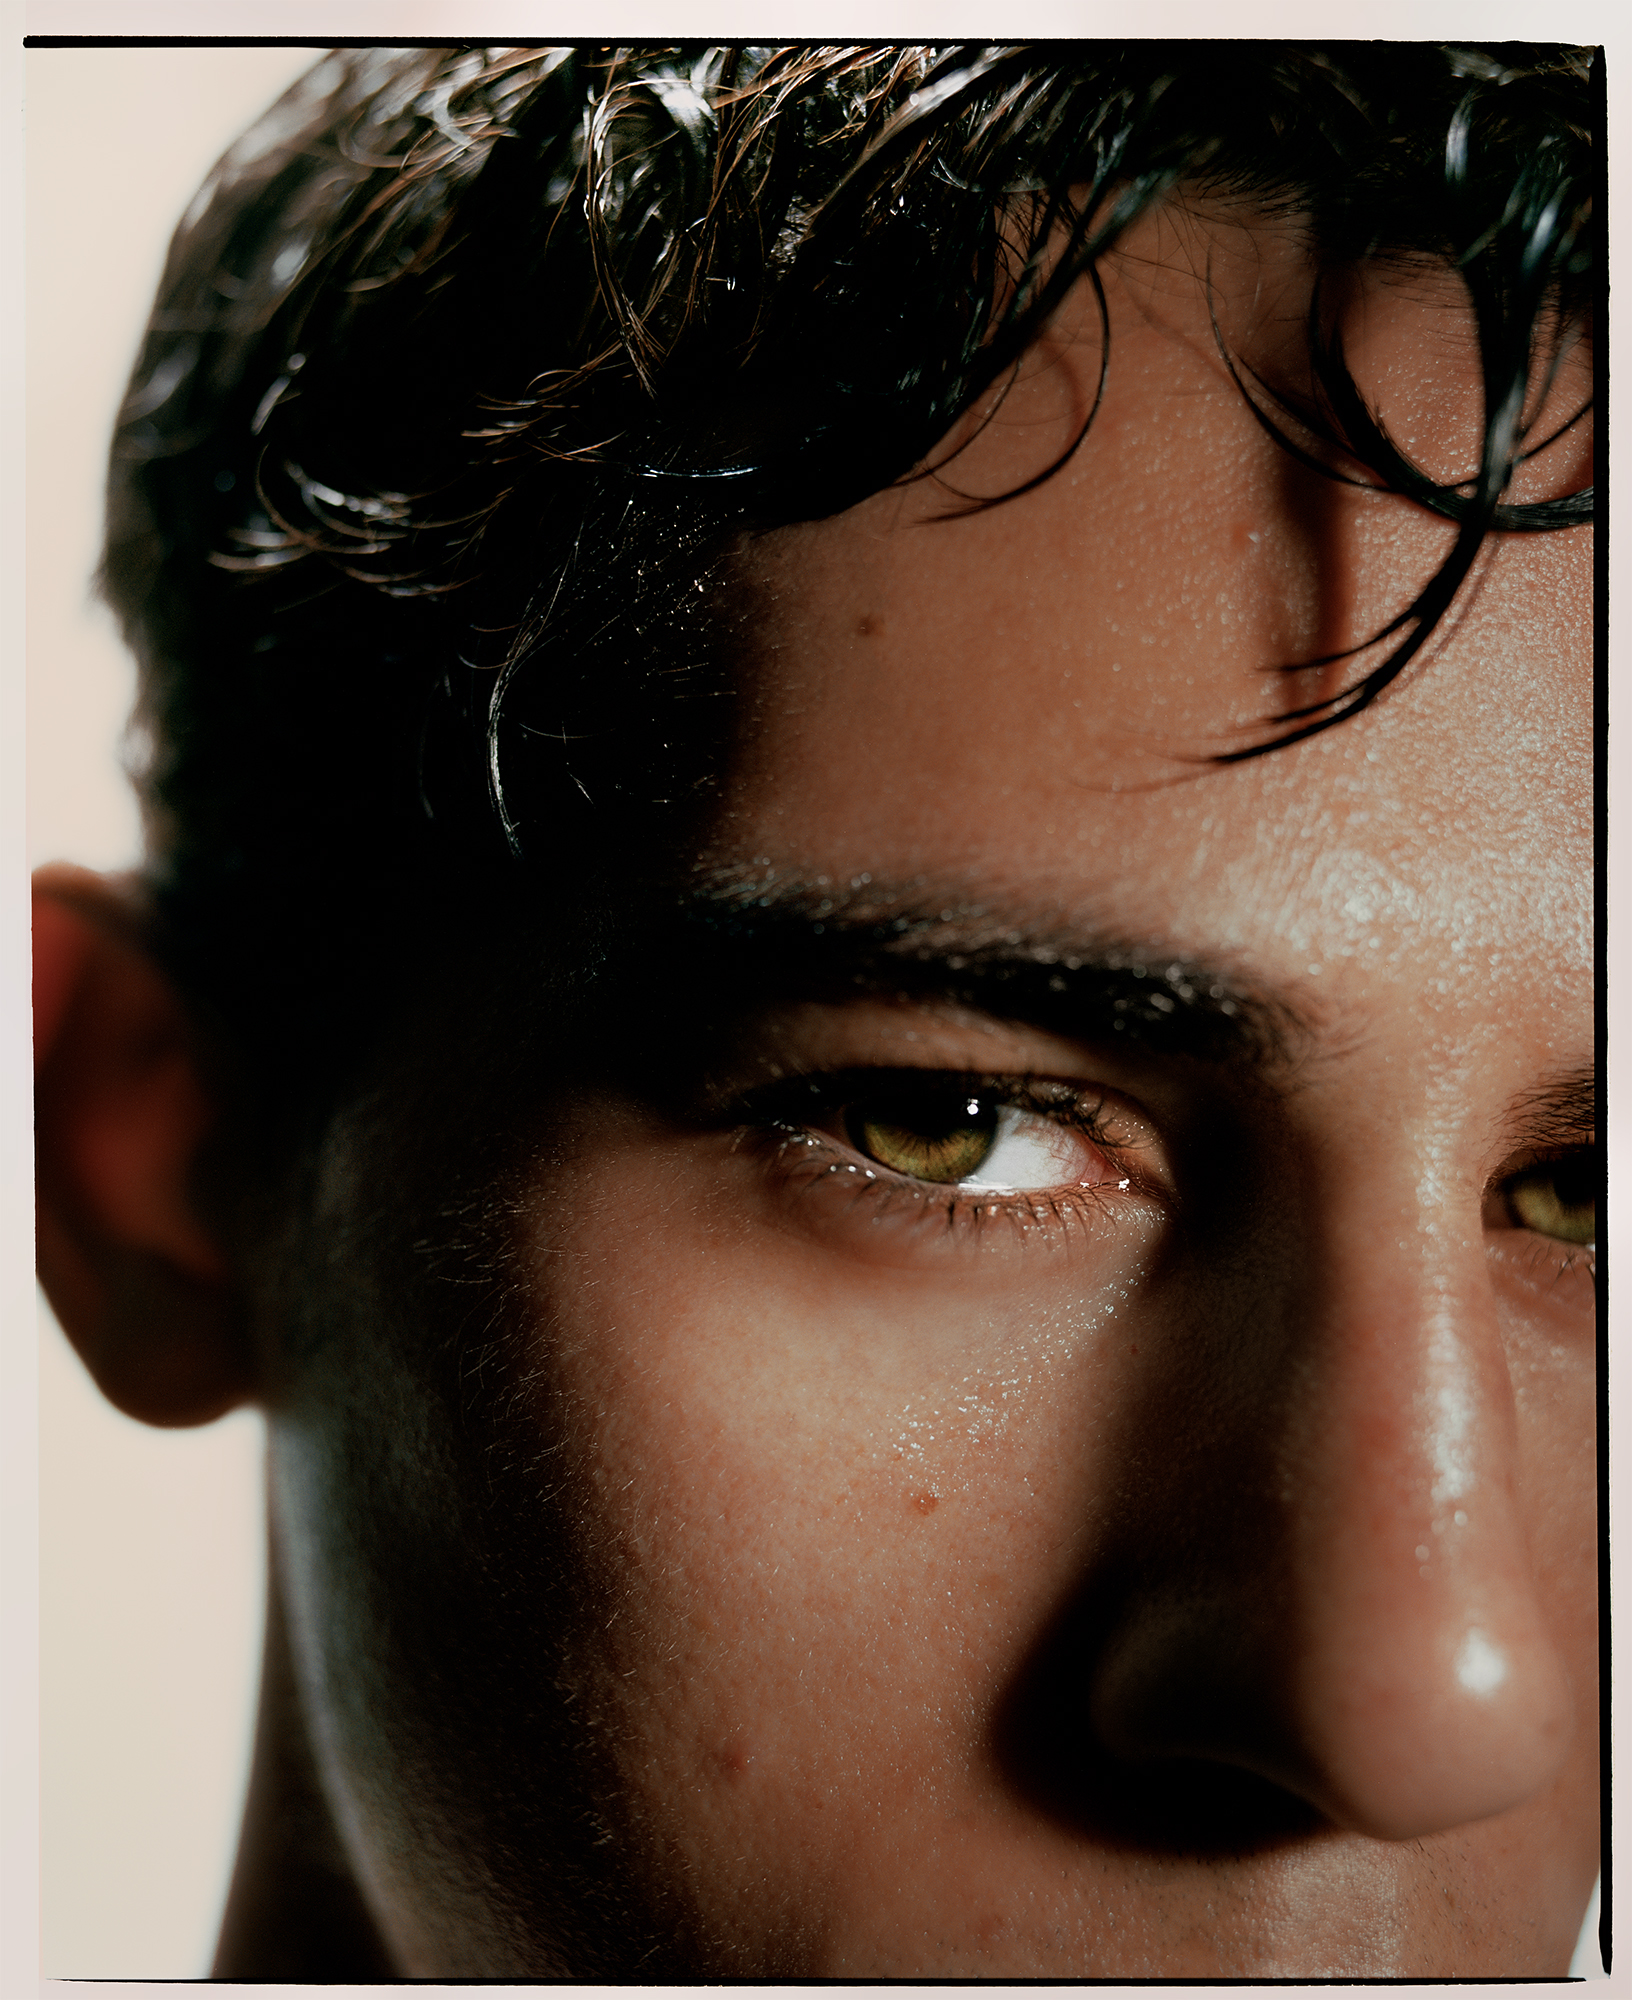
Daniel
Pankratiast
Reed
Spiritelli
The Uffizi Wrestlers
Email
Instagram
Tumblr
B
en McNutt
Shop
Email
Instagram
Tumblr